Read this guide to learn how to rename an Azure Subscription using the Azure portal or PowerShell on your computer or in Azure Cloud Shell.
Option 1: Rename a Subscription via the Azure Portal
- Sign in to portal.azure.com, search for a subscription, and then select Subscriptions.


- After that, click the subscription you want to rename.


- Finally, click the Rename button, give the subscription a new name, and click Save.


Option 2: Rename with PowerShell on a Computer
- Open PowerShell 5.0 as administrator on your computer and run the command below.
Connect-AzAccount
- Then, select the account you want to sign in to Azure with on the Sign in pop-up. If you need to sign in with an account not on the list, choose Use a different account.


- After that, enter the Azure email account and then the password.


- Finally, run the commands below to install the required PowerShell modules and rename the Azure subscription.
#1. Install and import the Az.Accounts and Az.Subscription modules. Without this, the Rename-AzSubscription command will not be availableInstall-Module -Name Az.Accounts, Az.Subscription -Force
Import-Module Az.Accounts, Az.Subscription -Force#2. Return all subscriptions in your Azure tenant
get-AzSubscription
#3. Rename the subscription
Rename-AzSubscription -Id 107adc00-2694-430e-b985-d2639d9e1eef -SubscriptionName "AZ-100 Lab"
#4. Check that the subscription has changed
get-AzSubscription
Option 3: Rename via Azure Cloud Shell PowerShell
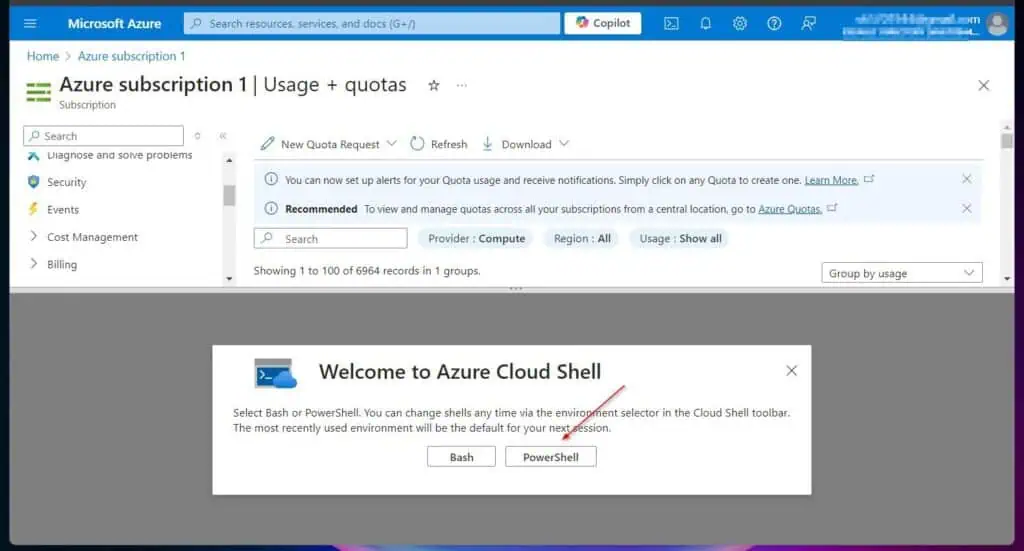
- Sign in to portal.azure.com and open Azure Cloud Shell by clicking its icon.


- If it is your first time opening Azure Cloud Shell, follow the numbering on this screenshot to set it up for the first time.


- Finally, run the commands below to install the required module and rename the Azure Subscription.
#1. Install and import the Az.Accounts module. Without this, the Rename-AzSubscription command will not be availableInstall-Module -Name Az.Subscription -Force
Import-Module Az.Subscription -Force#2. Return all subscriptions in your Azure tenant
get-AzSubscription
#3. Rename the subscription
Rename-AzSubscription -Id 107adc00-2694-430e-b985-d2639d9e1eef -SubscriptionName "AZ-100 Lab"
#4. Check that the subscription has changed
get-AzSubscription
Conclusion
Part of the Azure Infrastructure admin role involves managing and sometimes renaming subscriptions. In this quick guide, I shared three methods to accomplish this task via the Azure portal, Azure Cloud Shell, and PowerShell on a computer.
I am confident that you have accomplished your aim of reading this guide using one of these methods. Please let me know what you think about the guide by responding to our “Was this page helpful?” question below.

