In this article, I share the six best plugins for Photoshop and Lightroom. They can help you take your photo editing to the next level by providing better sharpening, selections, focus stacking, and other creative ways to enhance your images.
I’ve been using some of these plugins for close to 10 years, and they are an integral part of my photo editing workflow. I’ll start the overview with two free extensions before diving into the premium plugins you have to pay for to use. Here’s what I cover:
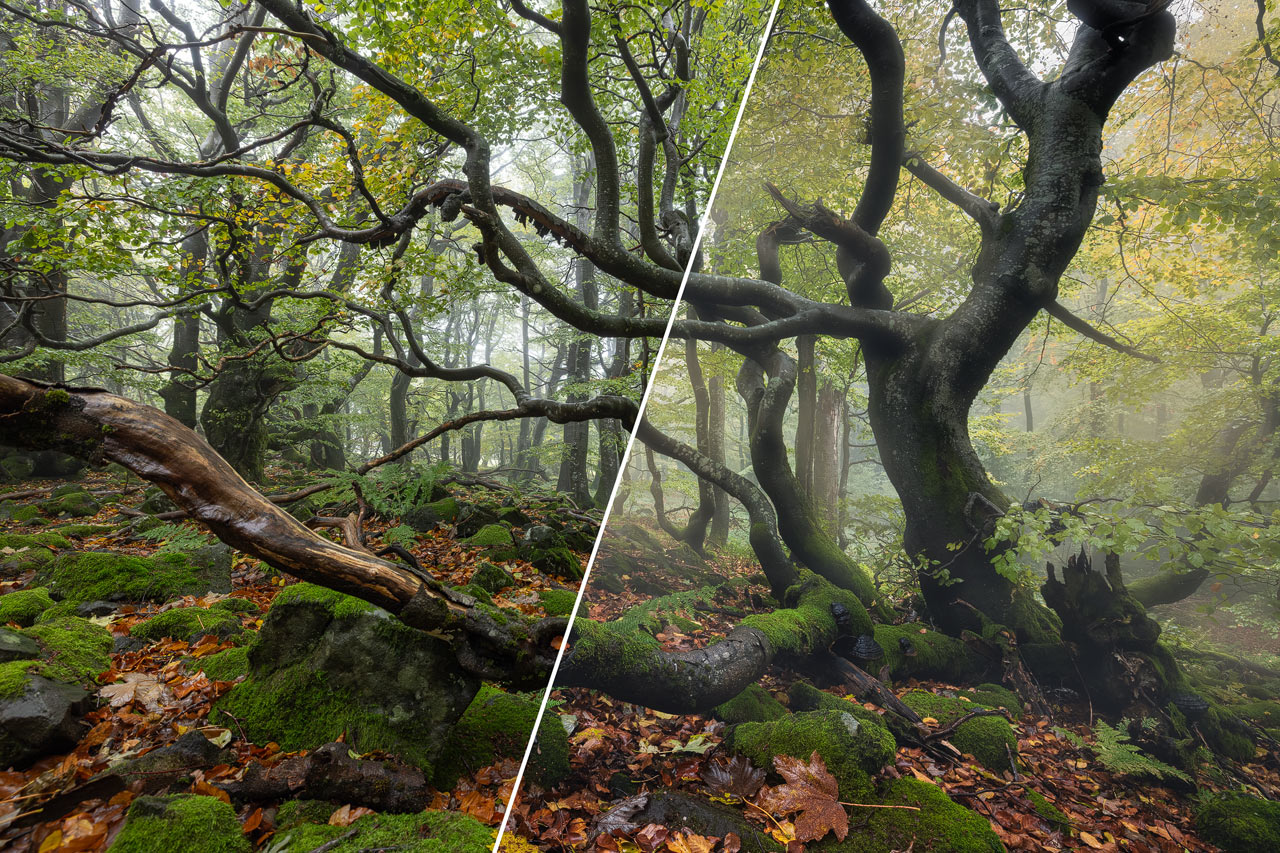
You likely won’t need all of those plugins for your editing workflow. But even the ones that are not free include a trial version. So the least you should do is test those tools and see if they can help you edit your photos.
Web Sharpener Extension for Photoshop
It’s not enough to resize you images in Photoshop or Lightroom to make your photos look perfect on the web. You should apply a resize and sharpening method tuned to provide the best possible results. When I learned about it more than ten years ago, there wasn’t a plugin that did all the work with a click of a button. Back then, I created Photoshop actions to perform the multi-step resizing, the separation of the sharpening into dark and light edges, and other little tweaks. Tuning those actions involved rerecording them, which wasn’t very flexible.
Thankfully, Andreas Resch bundled all the knowledge about preparing photos for the web in his Web Sharpener extension. It’s free to install via his homepage or directly from Adobe.
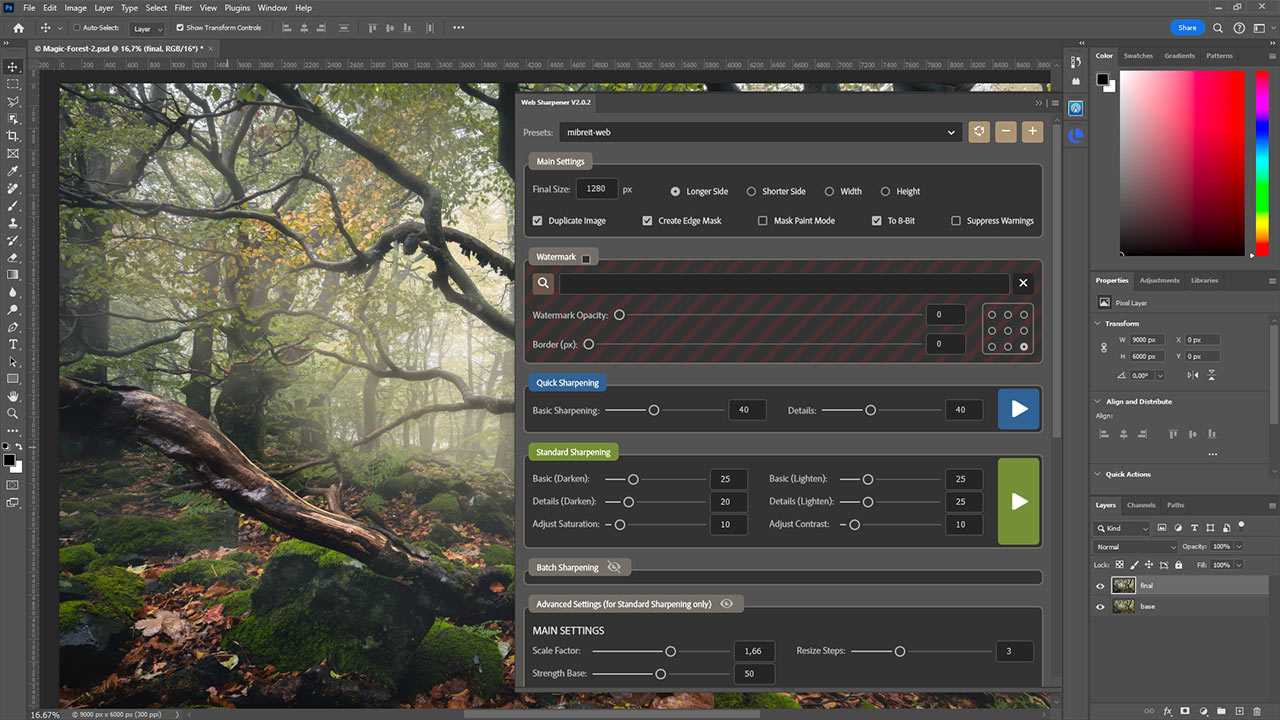
The extension is easy to use. You can either select Quick Sharpening or Standard Sharpening, which allows you more control over the results. Once you made your main settings, including the Final Size, you can save presets for your different outlets. Instagram is already included.
Nik Collection
The Nik Collection has always been my favorite plugin collection. After Google purchased it several years ago, they made it freely available. They have since sold it to DXO, who continue to develop and improve the Nik Collection. They also ensure it works on the latest systems.
But the free version is still available with all you need to spice up your images creatively, reduce noise, or sharpen your photos for print.
There are a few limitations, though. The old version seems to no longer work on a new MacOS. But it works fine under Windows. Here, the only problem you might face is the size of the panels and sliders. If you have a 4k display, those might be too tiny to use properly. Best test the collection and see for yourself if you can use it. If not, make sure to check the DXO version as they also offer a free trial.
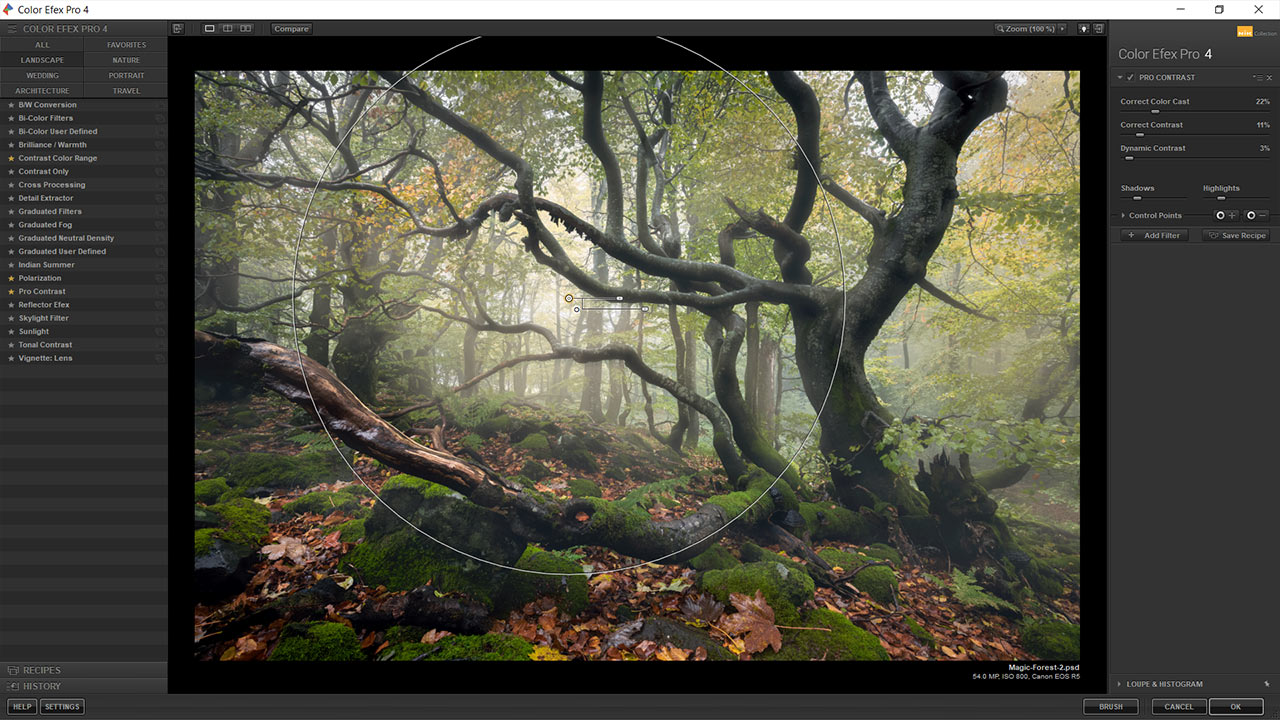
If you follow the steps below, you can get them to work in the latest versions of Photoshop and Lightroom:
- Download the installer.
- Start the installer.
- Once asked to select your host software, click the plus icon at the bottom of the list to add a new host software.
- Select the “Plug-ins” folder of your current Photoshop installation, and create a “Google” sub-folder. For me, it is “C:\Program Files\Adobe\Adobe Photoshop 2024\Plug-ins\Google” under Windows.
- Continue the installation.
Once you start Lightroom or Photoshop, the Nik Collection should be available. To apply an effect from the collection in Photoshop, you must create a new layer and apply the effects directly to that layer to avoid crashes. Don’t let the Nik extensions create a new layer for you. You can change the plugin settings to apply the effects directly to the current layer.
Lumenzia Addon for Photoshop
Greg Benz has been developing Lumenzia to become a powerful Photoshop add-on. In the beginning, its focus was simplifying the creation of Luminosity Masks. The number of ways you can tune your selections and target edits in Photoshop has grown ever since. I only know the tip of the iceberg, which is Lumenzia. If you want to harvest its full potential, follow Greg Benz’s YouTube channel, where he regularly shares new workflows that Lumenzia supports.
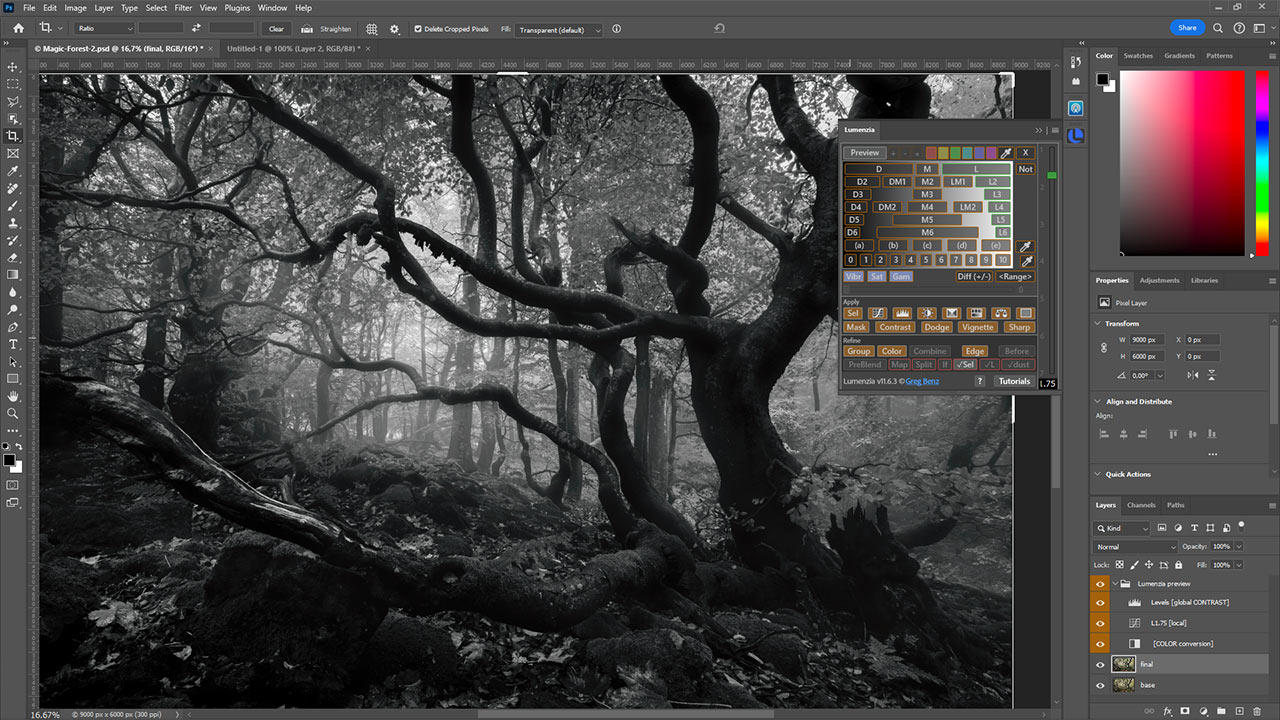
Lumenzia is available for only 40$*. With the purchase, you get all updates, which is remarkable considering all the work that goes into the continuous improvement of the software. If I could pick only one extension I can’t live without from the ones I show in this article, it’s this one.
Helicon Focus for Lightroom
I’ve been focus-stacking my landscape and architecture images for over ten years. Because I never liked the results I got from Photoshop’s automatic stacking, I always did it manually using masks. It worked well until I visited Costa Rica and started to delve more into woodland photography. Stacking those images manually was impossible, and I needed help.
Back then, I found Helicon Focus and never looked back. It provides superior algorithms to Photoshop and can even handle detailed forest images. If there is movement, the results won’t be perfect out of the box. But Helicon also provides an intuitive retouching workflow, which helps to clean imperfections quickly.
![]()
Helicon is not available as an extension for Photoshop. You will find it in Lightroom under “Export – Helicon Focus”. I prefer using the DNG option, which allows me to make RAW adjustments even after the stacking.
DxO PureRAW 4
The most recent Lightroom plugin I’ve started using is DxO PureRAW 4. When Lightroom released their AI noise reduction, it was a game changer. Suddenly, I could shoot woodland photos at ISO 800 as if it was ISO 100. Night photos captured at ISO 6400 also became possible.
With DxO PureRAW 4, you can increase the image quality of your photos even more. The images look cleaner and more detailed than the results I can achieve with Lightroom or any other software I have tested. I show a comparison in the video below. You can download a free 14-day trial here.
Luminar Neo Photo Editor
Another recent addition to my editing suite is Luminar NEO*. It can be used as stand-alone photo editing software or as an add-on for Photoshop and Lightroom. If used as stand-alone software, you can develop your RAW photos with it before delving into the various creative editing tools Luminar contains.
But that’s not even the end of it. Skylum, the company behind Luminar NEO, continuously develops new functionality, which they provide as plugins. You can purchase those separately. They include AI sharpening, Noise Reduction, and HDR, among other tools.
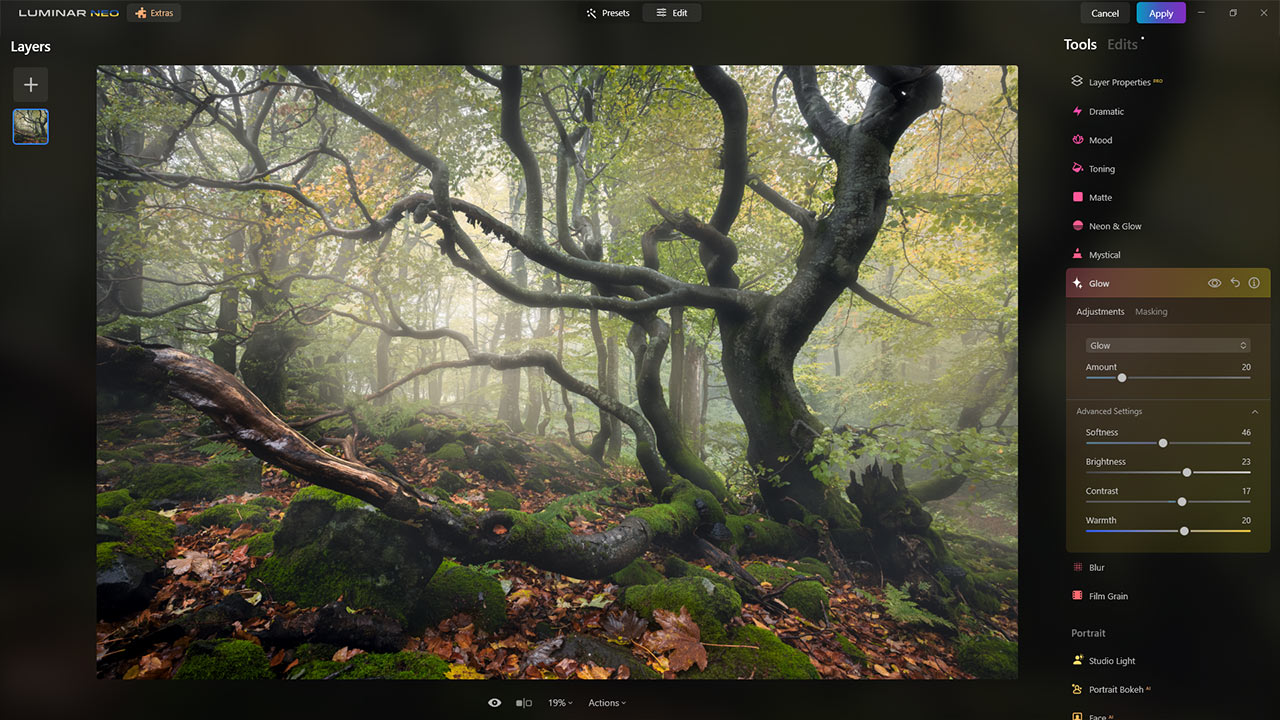
I’m still exploring the various adjustments this software allows me to make to my image, but with every minute I spend using this software, I find new creative ways to elevate my photo editing.
Conclusion
Lightroom and Photoshop are themselves powerful photo editing programs. There’s nearly nothing you can’t do with the tools they provide. But there are certain things you can do faster and better if you use more specialized software. The extensions I shared in this article are examples of it.
* Those are Affiliate Links. I get a commission if you buy or book something after clicking on those.


