Want to use Cloudflare just for DNS hosting without using the CDN or firewall features?
According to DNSPerf, Cloudflare is the fastest DNS provider out there (or at least in DNSPerf’s benchmarks). It’s also free, which is tough to argue with (especially since it beats out many paid services).
However, some people might get scared away from using Cloudflare because they don’t plan to use Cloudflare’s CDN or firewall services. Don’t be scared!
Though Cloudflare doesn’t make it super obvious, you can use Cloudflare just for DNS hosting without enabling any of the other services.
This is what I’ve been doing for my own sites for a while now and it works great.
In this post, I’ll show you exactly how to set everything up – all for free.
How to Use Cloudflare Just for DNS
Here’s the tutorial:
1. Register for an Account and Add Your Site
If you haven’t already, you’ll need to get started by registering for a Cloudflare account (it’s free).
Once you do that, follow the prompt to add a site:

On the next page, Cloudflare will show you the pricing options. Just choose the Free plan:

2. Disable Cloudflare Proxy for DNS Records
Now, Cloudflare will scan your site and import your DNS records. You should see a list of different records – yours might be longer or shorter than my example:

Look at the Proxy status column. See how some/all of the entries have an orange cloud that says Proxied? You want to turn that off. To do that, just click on the orange cloud – it should then change to a grey cloud that says DNS only.
Do this for all the records. At the end, it should look something like this:

Then, click Continue.
3. Change Your Domain’s Nameservers
Now, you need to go to your domain registrar and change the nameservers for your domain name to the nameservers that Cloudflare provides.
Unfortunately, this process will be different for each domain registrar. However, you can consult your registrar’s support docs if you run into issues.
Once you’ve made the change, click the Done, check nameservers button:

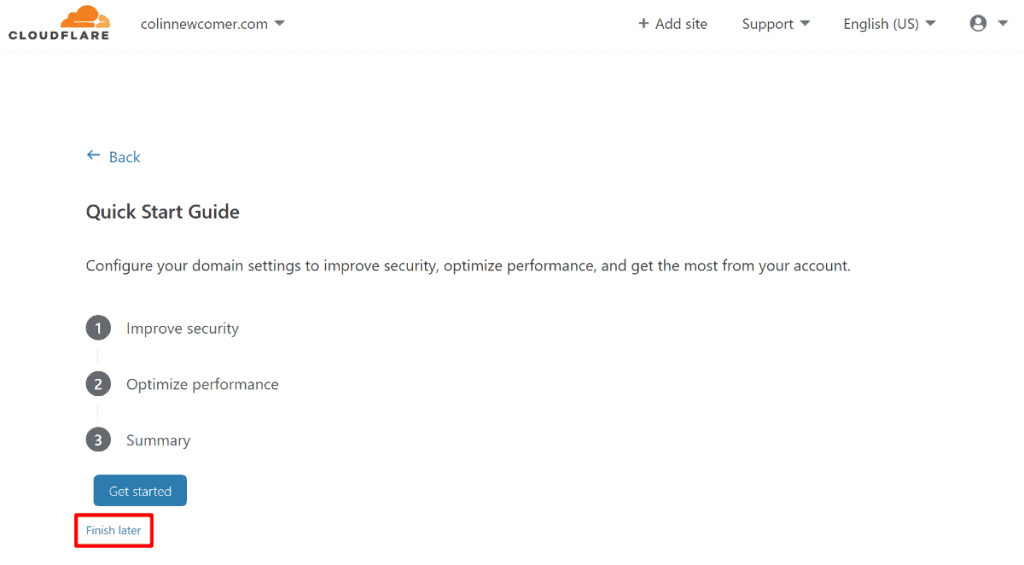
If you see a Quick Start Guide after doing that, just click the link to Finish later – you don’t need to configure any of the settings.

4. Pause Cloudflare Service
At this point, you’re already pretty much done. However, to guarantee that you didn’t accidentally activate one of the Cloudflare services, you can pause Cloudflare for your domain. This won’t affect the DNS service, which will keep working. It just makes sure there’s nothing else going on.
You can find this in the Overview tab of your Cloudflare settings. In the right sidebar, scroll down to Advanced Actions and choose Pause Cloudflare on Site:

This will show a prompt. Click Confirm to finish things out:

And that’s it! You just set up standalone Cloudflare DNS.
Start Using Cloudflare as Your DNS Provider Today
Not only is Cloudflare free, it’s also one of the fastest DNS providers out there. By following the steps in this article, you’ll be able to use Cloudflare just for DNS without activating any of the other features, like the CDN or WAF.
Do you still have any questions about how to use Cloudflare for DNS? Leave a comment and I’ll try to help!
Colin Newcomer is a freelance writer for hire with a background in SEO and affiliate marketing. He helps clients grow their web visibility by writing primarily about digital marketing, WordPress, and B2B topics.

